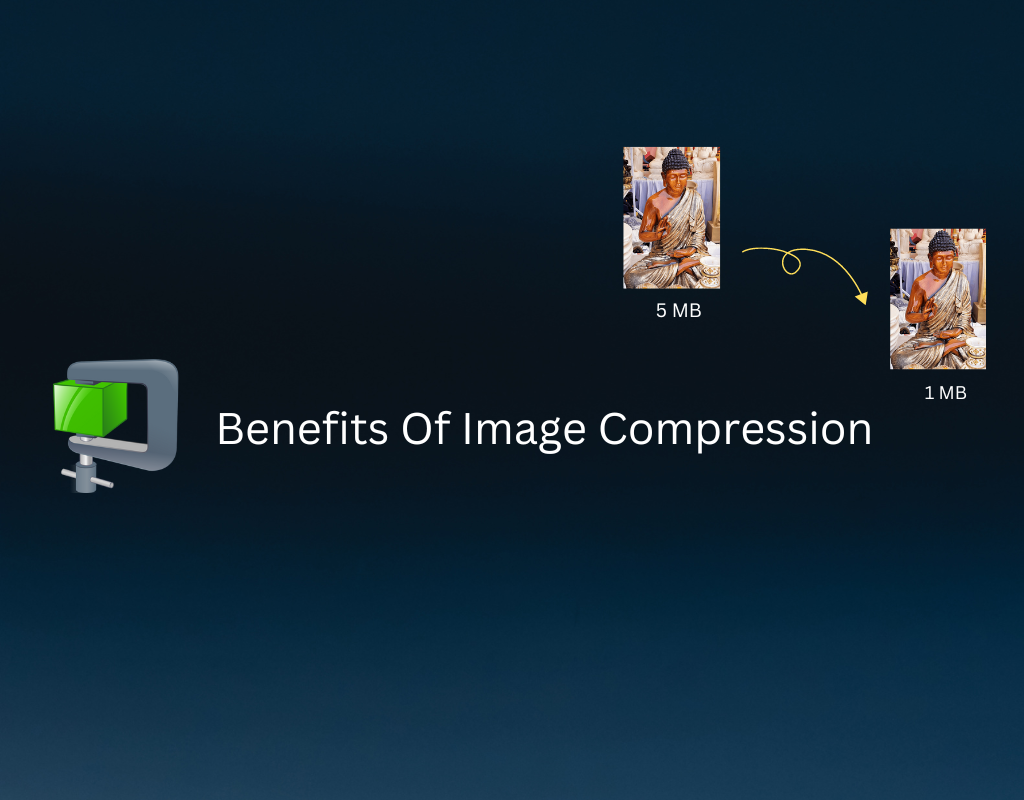
Images make up the largest portion of most web pages — often accounting for 36–75% of total page weight. A single unoptimized photo from a smartphone can be 5–15 MB, and loading several of those on a single page can push load times past the point where visitors simply leave.
53% of mobile users abandon a page that takes longer than 3 seconds to load. Image compression is the fastest, simplest way to prevent that.
In this guide, we’ll cover:
- What image compression is and how it works
- The two types of compression (lossy vs. lossless)
- Why compression matters for SEO, speed, and conversions
- How to compress images online for free
What Is Image Compression?
Image compression is the process of reducing the file size of an image by removing redundant or unnecessary data. The goal is to make the file significantly smaller while keeping the visual quality as close to the original as possible.
Every digital image — whether captured by a phone, DSLR, or screenshot tool — is stored as a “raw” file packed with as much information as possible. This is great for editing flexibility, but terrible for web performance. A raw or unoptimized image contains vast amounts of data that the human eye can’t distinguish, and compression removes exactly that.
Lossy vs. Lossless Compression: What’s the Difference?
There are two fundamental approaches to image compression, and understanding the difference is key to choosing the right one.
Lossless Compression
Lossless compression reduces file size without discarding any image data. The original image can be perfectly reconstructed from the compressed version.
- Best for: Graphics, logos, screenshots, illustrations, images requiring transparency
- Common format: PNG
- Typical reduction: 20–50%
Lossy Compression
Lossy compression achieves much greater file size reduction by permanently removing data the human eye is unlikely to notice — such as subtle color variations and fine details in complex areas.
- Best for: Photographs, hero images, product photos, social media images
- Common formats: JPEG, WebP (lossy mode), AVIF
- Typical reduction: 60–80% at quality 70–85 (virtually invisible difference)
Quick Comparison
| Factor | Lossless | Lossy |
|---|---|---|
| Quality loss | None | Minimal (at high quality settings) |
| File size reduction | Moderate (20–50%) | Significant (60–80%) |
| Best for | Graphics, logos, text | Photos, web images |
| Reversible | Yes | No |
| Common formats | PNG, TIFF, BMP | JPEG, WebP, AVIF |
Pro tip: For maximum reduction, combine both approaches — first compress a PNG losslessly, then convert to JPEG or WebP for lossy compression. This can achieve 90%+ file size reduction.
Why Image Compression Matters: The Numbers
1. Page Speed Is a Google Ranking Factor
Google has used page speed as a ranking signal since 2018 (mobile) and reinforced it in 2021 with Core Web Vitals. The most critical metric is Largest Contentful Paint (LCP) — the time it takes for the largest visible element (usually an image) to load.
- Google’s target: LCP under 2.5 seconds
- A 2 MB hero image can push LCP past 4 seconds on mobile
- Compressing that image to 200 KB can bring LCP under 2.5 seconds
Every 100 KB of extra image weight adds roughly 50–200ms of load time on a 4G connection.
2. Faster Pages Convert Better
Speed directly impacts revenue:
- A 0.1-second speed improvement increases e-commerce conversions by 8.4%
- Pages loading in 1.5 seconds convert significantly more than those loading in 3.5 seconds
- Properly optimized images that load quickly increase perceived value and trust
3. Slower Pages Lose Visitors
- 53% of mobile users leave if a page takes more than 3 seconds
- Even a 1-second improvement in load time measurably reduces bounce rate
- The median web page in 2026 weighs 2.56 MB on mobile — and pages have grown 11.5x heavier since 2010
4. Compression Saves Infrastructure Costs
Smaller images mean:
- Less storage required on servers and CDNs
- Lower bandwidth costs for serving content
- Faster backups and data recovery
- Reduced CDN egress charges — especially significant at scale
For a website serving 100,000 page views per month, compressing images by 60% can save gigabytes of monthly bandwidth.
How Much Can You Actually Compress?
Here’s what real-world compression looks like with different strategies:
| Method | Original | Result | Reduction |
|---|---|---|---|
| PNG lossless compression | 14.7 MB | 6.6 MB | 55% |
| PNG → JPEG conversion | 14.7 MB | 1.3 MB | 91% |
| JPEG → WebP conversion | 2.7 MB | 670 KB | 75% |
| PNG → AVIF conversion | 2 MB | 180 KB | 91% |
The best approach depends on your use case. For web images, converting to WebP (25–34% smaller than JPEG, 97% browser support) or AVIF (50% smaller than JPEG, 93% browser support) delivers the biggest gains.
Best Practices for Image Compression
Set the Right Quality Level
For lossy compression, a quality setting of 70–85% provides the best balance between file size and visual quality. Below 70%, artifacts become noticeable. Above 85%, the size savings diminish rapidly.
Resize Before Compressing
Don’t serve a 4000×3000 pixel image when the display size is 800×600. Resize first, then compress. This alone can reduce file size by 80% or more before compression even begins.
Use the Right Format for the Job
| Content Type | Recommended Format |
|---|---|
| Photos for web | WebP or AVIF |
| Photos for print | JPEG (high quality) or TIFF |
| Logos and icons | SVG or PNG |
| Screenshots with text | PNG (lossless) |
| Transparent images | WebP or PNG |
Serve Responsive Images
Use the HTML srcset attribute to serve different image sizes based on the user’s screen:
<img src="photo-800.webp"
     srcset="photo-400.webp 400w, photo-800.webp 800w, photo-1200.webp 1200w"
     sizes="(max-width: 600px) 400px, (max-width: 1000px) 800px, 1200px"
     alt="Description">
This ensures mobile users download a smaller image, saving both bandwidth and load time.
Compress in Batches
If you’re optimizing an existing website, don’t compress images one by one. Use a batch tool to process all images at once.
How to Compress Images Online for Free
RGBKit provides free online tools for compressing and converting images in bulk — no installation or account required.
Compress PNG Images
Use the PNG Compressor to reduce PNG file sizes while preserving quality. Upload multiple files, click compress, and download all results as a ZIP.
Compress JPEG Images
Use the JPEG Compressor for lossy compression of photographs and web images.
Compress WebP Images
Already using WebP? The WebP Compressor can squeeze even more savings from your files.
Convert to a Smaller Format
For the biggest file size reduction, convert your images to a more efficient format:
- Convert to WebP — 25–34% smaller than JPEG
- Convert to JPEG — ideal for removing PNG transparency overhead
- PNG to WebP — the single highest-impact web optimization
All tools process images in batches, are free to use, and package the results into a single ZIP download.
Final Thoughts
Image compression isn’t optional — it’s one of the most impactful things you can do for your website’s performance, SEO ranking, and user experience. Unoptimized images are the number one reason websites fail Core Web Vitals assessments.
The good news? It takes minutes. Compress and convert your images once, and every visitor to your site benefits from faster load times, lower bounce rates, and a better experience.
Start with your largest images first — hero banners, product photos, and featured images — and work your way down. Even compressing just your top 10 heaviest images can dramatically improve your site’s performance.